DIY garden mill: functions and features of use
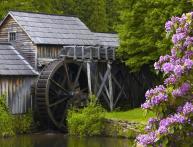
To add variety and unique zest to the garden plot, various decorative elements are used. The garden will look more attractive if it contains decorative windmill. You can easily do it yourself, following the drawing.
Content:
- Mill for the garden: features of use
- Preparation for work: materials and tools
- Stages of creating a mill: instructions
- Setting up a stone mill in the garden
Mill for the garden: features of use
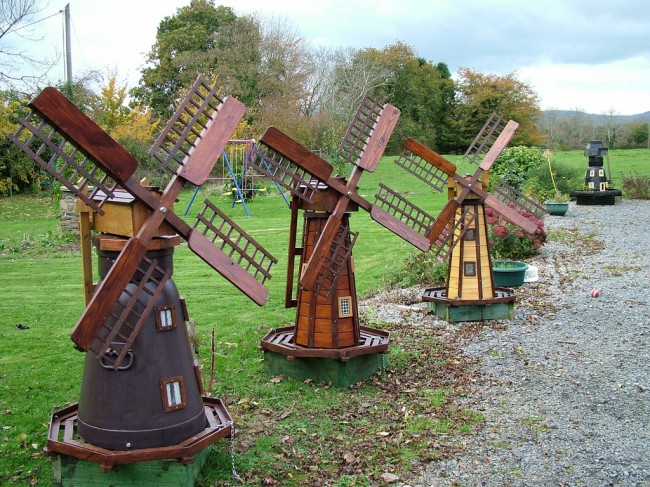
A garden plot is not only a place for growing crops, but also a recreation area, a cozy corner for the whole family. To decorate the dacha, they arrange flowering flower beds, create alpine slides, mini-fountains, a decorative mill and other elements.
A mill in the garden will not only fit into the landscape in an original way, but can also perform the following functions:
- Cover communications and unsightly places on the site
- As a play area for children
- Storage space for garden tools
If there are a lot of moles in the area, then the vibration during the movement of the blades will drive away the rodents. When constructing a mill made of stone, the structure can serve as a barbecue. The mill can become a toilet room, a playground, or a children's playhouse.
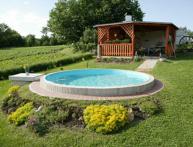
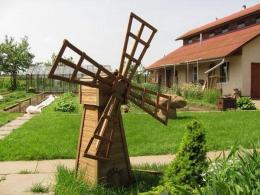
Installation mills do not require large financial investments. The design will easily fit into the landscape and become the highlight of the garden.If you add side drawers to the decorative mill and plant flowers, you can create a magnificent flower garden. If there is a pond on the site, then such a design will complement it.
Preparation for work: materials and tools
To build a windmill, you can use any building materials: plywood, plastic, wood, bricks, wild stone. The best wood species to use is pine. It not only lends itself well to treatment with a protective agent, but also has a pleasant aroma of pine needles.
If you plan to build a wooden mill, you will need:
- Wide board or sheet of plywood
- Wooden beams (4 pcs. 60-70 cm, section 5x5 mm)
- Lining or slats for cladding
- Wooden corners
- Tools you should prepare:
- Pilou
- Grinding machine
- Bolts, washers, nails
- Metal rod
- Drill
- Screwdriver
- Roulette
After preparing the necessary materials and tools, you can begin to cut out the mill parts.
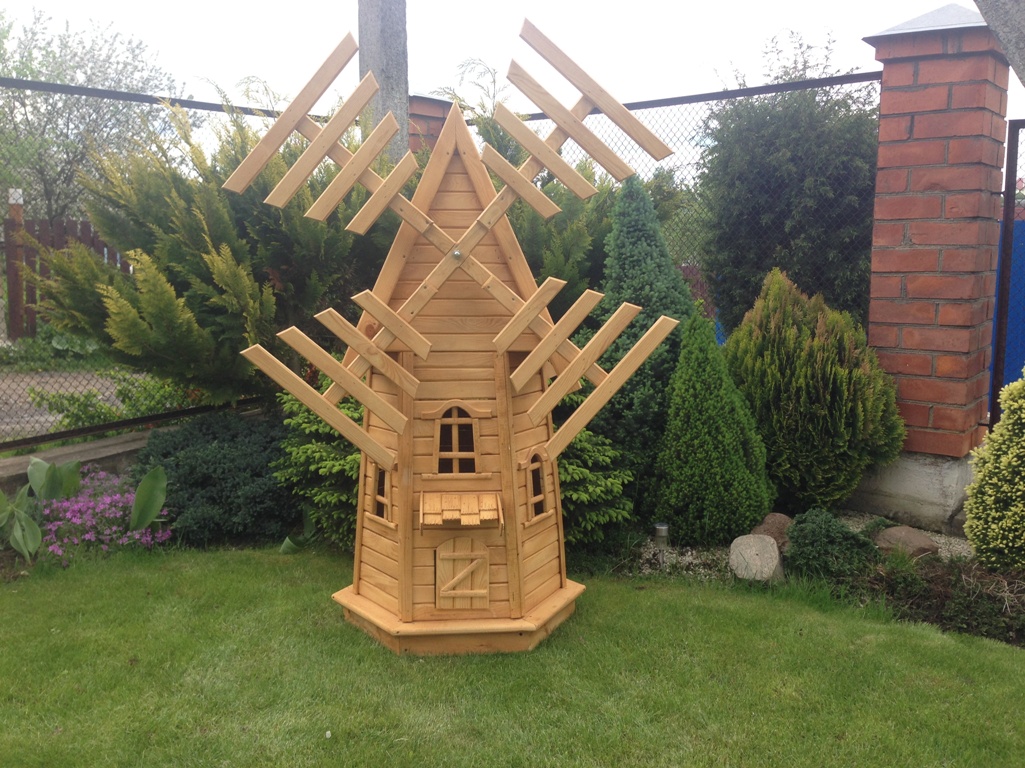
Stages of creating a mill: instructions
Visually, the mill design can be divided into 3 parts: base, frame, roof and blades. Each is assembled separately, and then all the segments are combined together. Before installation, it is necessary to treat the wood with a special solution, which will prevent rotting and increase service life. The main stages of creating a decorative mill can be divided into small blocks of work.
Cutting out the necessary parts. First, cut out the base: the top is 40x40 cm in size, and the bottom is 50x50 cm. Next, draw diagonal lines on the prepared base and drill a hole in the center of the intersection. Then, stepping back 2-3 cm from the edge, attach the slats using self-tapping screws. Cut 4 legs from the bars.
To protect against moisture, each “leg” can be inserted into a plastic pipe and secured with self-tapping screws. They should be attached to the inside of the base. Manufacturing of the body. Take 4 bars and nail them to the base so that you get a pyramid, but only a truncated one. It is important to assemble the frame correctly, since the appearance of the finished structure depends on this. The frame can be in the form of a rectangle, polygon, etc. If desired, you can cut a window or make a door in the middle part.
Roof construction. To create a roof you will need 2 triangles, identical in size 30x30x35cm. They are connected at the top with beams and at the sides with self-tapping screws, and then attached to the base. To make the structure stable, it is recommended to place the roof and lower part on a vertical axis. In this case, the bearings should be inserted. As a result design will be fixed vertically, and the roof will not rotate due to a gust of wind.
Creation of blades. Take the boards, mark the center and make grooves. Next, lay the boards in the form of a cross on top of each other. It is important that the grooves fit together. Then the joint is secured with bolts, washers and nuts are used on both sides. After this, the slats are nailed with small nails onto all 4 blades.
Next we proceed to the wings of the mill. They can be of different shapes: in the form of a triangle or trapezoid. The wings are nailed to the blades. Then the turntable is connected to the horizontal axis.
If you plan to create a rotating structure, then you should screw a vertical rod to the center of the roof. The horizontal axis should be parallel to the roof slope. This design is more difficult to install, but looks more beautiful.
Finishing of the finished mill. At the final stage, finishing is performed.There are many ideas for finishing a mill. First, the structure needs to be treated with a protective agent, and then it can be varnished. You can paint it, thereby giving the structure a toy look.
If the structure has windows and doors, then they can be decorated with openwork platbands. Can be placed on the roof and walls decorative butterflies or other insects. For convenience and ease of work, it is recommended to mark on the drawing parts that have already been completed.
Setting up a stone mill in the garden

This method of installing a mill is much simpler than making a structure made of wood. First you need to prepare a place for the foundation. To do this, dig a hole, lay reinforcement and fill it with concrete. After the concrete has hardened, you can begin laying stones.
The size and shape of the future mill can be any, but care must be taken to ensure that the structure is level. It is important not to forget to tie the pebbles together. At the top, brick up a pin for attaching the blades. Weld a plate onto it in advance to hook it to the masonry.
To create a propeller, you need to cut a circle out of plywood and make a hole inside it commensurate with the diameter of the pin. Next, assemble the blades from the slats and attach them to the plywood. After this, install the resulting structure on a stud and secure it with nuts and washers.
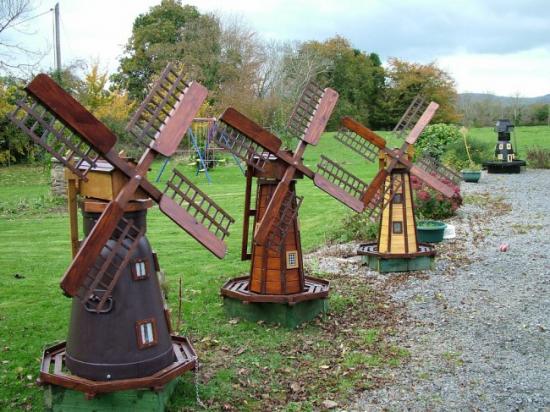
Before installing the blades, they must be impregnated with a special product and, if desired, painted. At the final stage, this type of mill can be decorated with tiles in the form of small bricks. There should be no voids when laying tiles. You can create a decorative windmill using various materials. In any case, this decorative element in the garden will look beautiful and original.
Video on how to assemble a decorative mill on the site: