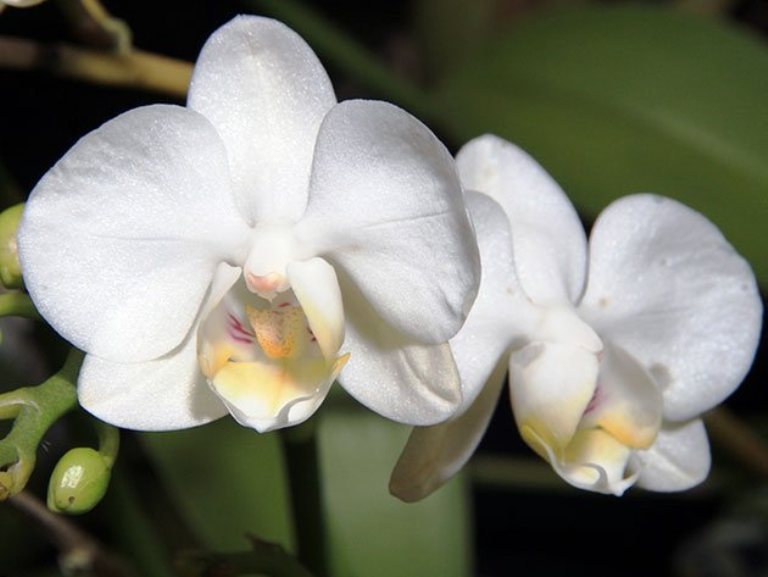
How phalaenopsis reproduce at home, features, useful tips
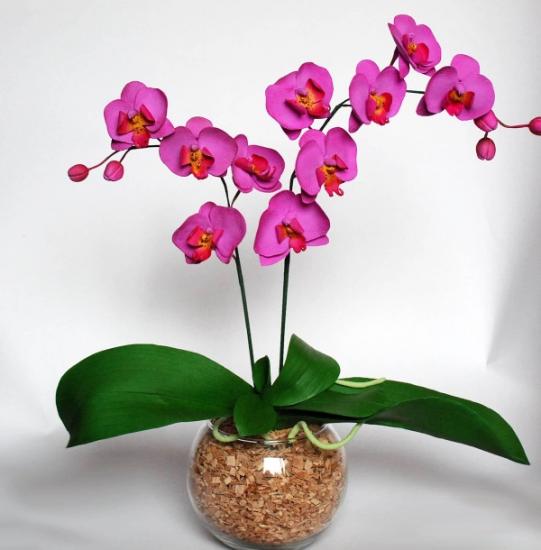
Phalaenopsis - This is a type of orchid that is distinguished by its unpretentiousness to living conditions. There are several methods for propagating plants in home greenhouses, each of which has a number of features.
Content:
- How Phalaenopsis reproduce in nature and at home
- Reproduction of Phalaenopsis by roots
- How to propagate Phalaenopsis orchids by leaf
- Propagation of orchids by flower stalks
- Peculiarities of reproduction by children, the use of hormonal paste
- Is it possible to propagate orchids by seeds?
- We create favorable conditions for the reproduction of Phalaenopsis
How Phalaenopsis reproduce in nature and at home
An important feature of the flower is the fact that it does not have lateral branches, and therefore there is only one growth point, while other orchids have several.
In addition, Phalaenopsis also does not have pseudobulbs, like other species, and the orchid can reproduce only through cuttings with a meristem, seeds and children.
Under natural conditions, there are several reproduction options:
- Through dispersal of pollen from seed capsules, or with the help of insects. It is important to remember that flower seeds cannot germinate on their own. To grow, they need soil fungi, which provide the orchid with the carbons necessary for seed germination and development;
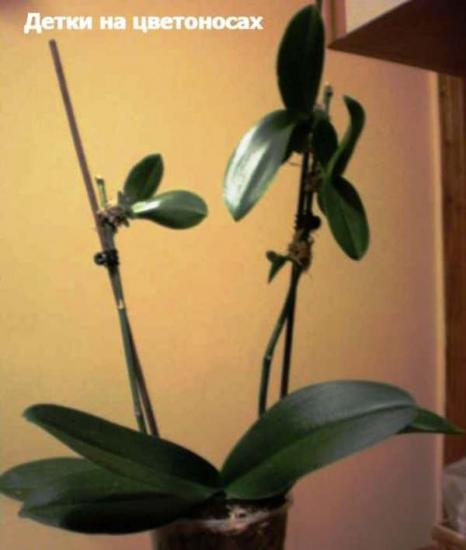
- Through layering and kids, which are formed on an adult plant after a flowering period directly on the peduncle.
- In the natural environment, both methods are equally effective, but at home, sowing seeds is one of the most difficult methods.
- For the education of children, the flower must be provided with the most comfortable, close to natural, conditions.
Reproduction of Phalaenopsis by roots
This method is not in high demand, but has a certain popularity. So in the process of transplantation orchids You can carefully separate a part of the root at least 5 cm long and place it in a separate container.
It is recommended to keep the seedling in greenhouse conditions until the first leaves form. You can ensure a suitable balance of lighting, moisture and temperature by using a plastic bag or a regular bottle that covers the seedling.
After planting, you need to place the mini-greenhouse in a warm place with diffused light.
Replant the received orchid into a new container only after its roots have reached a length of 5-7 cm.
Since this method is not common for Phalaenopsis, the success rate of this method does not differ in height.
That is why novice gardeners should not choose this option, but give preference to planting children or flower stalks.
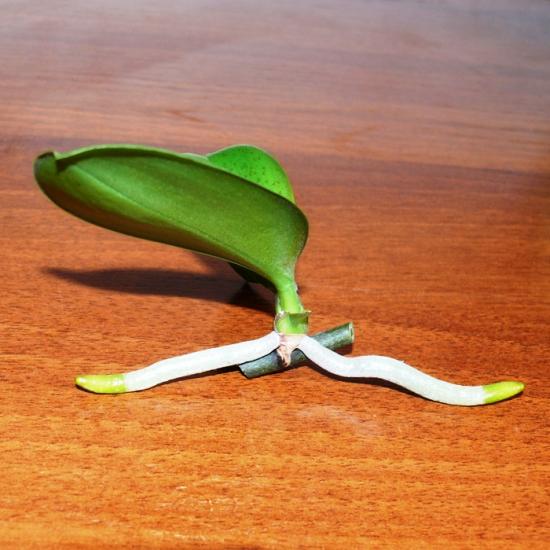
How to propagate Phalaenopsis orchids by leaf
A fairly common question is: is it possible to propagate Phalaenopsis using a leaf? Some plants take root when planted with leaves, but this does not apply to this species.
If a leaf breaks off without a bud or part of a stem, reproduction is impossible. However, if there is a bud (meristem) at its base, you can try to plant it.
To do this you need:
- Place the leaf petiole in a separate substrate;
- Water generously and cover with a plastic bag or cut-off bottle, creating greenhouse conditions;
- Place in a warm, well-lit place.
- If there was a bud on the petiole, with proper care it will begin to grow. However, in the absence of a meristem, reproduction is impossible.
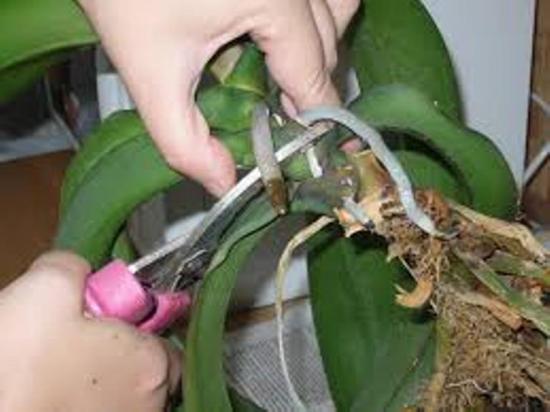
Propagation of orchids by flower stalks
If the mother plant is infested with pests or has suffered from disease, the transplanting method can be used peduncle.
To do this you need:
- Carefully, with clean scissors, cut off the peduncle;
- Place it in a container half filled with soft, pre-purified water with a charcoal tablet dissolved in it;
- In order for the orchid to grow, you need to awaken the sleeping bud. To do this, you need to carefully cut off the rounded scale that covers the kidney and lubricate it with cytokinin ointment;
- Make sure that the temperature of the room in which the cut peduncle is located does not exceed 25-28 C. If this regime is not followed, there is a danger of developing not a shoot, but a new peduncle;
- Change the water in the container once a week.
It is not recommended to separate the shoot immediately after the formation of the first leaves. It is necessary to wait until the root of the shoot reaches 3-5 cm and the number of leaves is 3-4. Once this has been achieved, you can cut off the shoot along with a piece of the peduncle and plant it in a transparent container. In this case, the pot should not be located in direct sunlight.
Peculiarities of reproduction by children, the use of hormonal paste
The most common method reproduction Phalaenopsis is the seating of children. However, this option also has several conditions that should be taken into account.
The main ones include:
- The orchid must exit the flowering phase and be absolutely healthy;
- The age of the plant cannot exceed one and a half to two years.
- If both indicators are met and the flower is suitable for planting, you must first pay attention to the sequence of events. So, it is recommended:
- In February (the optimal time) to begin stimulating kidney development;
- Place the pot with the plant on the east or west side. In this case, the leaves should be shaded so that the light touches only the peduncle;
- Adjust the temperature: during the day - 27 C, at night - 16 C;
- Reduce intensity glaze to the minimum required;
- Stop adding additional fertilizers until the buds begin to develop.
If these conditions are met, the kidney awakens after a month. It is important to catch this moment in time, because the plant will need a change in care.
An orchid needs:
- Place in a shaded but warm place so that the bright rays of the sun do not fall on the process;
- Water at the same frequency as before the start of measures to stimulate the kidneys;
- Before the shoot has grown sufficiently, it is recommended to apply foliar fertilizers, after which you can switch to root fertilizers. feeding;
- After the roots and leaves of the shoot reach optimal sizes, as in the case of planting with a peduncle, it must be separated from the main plant and moved to a separate container.
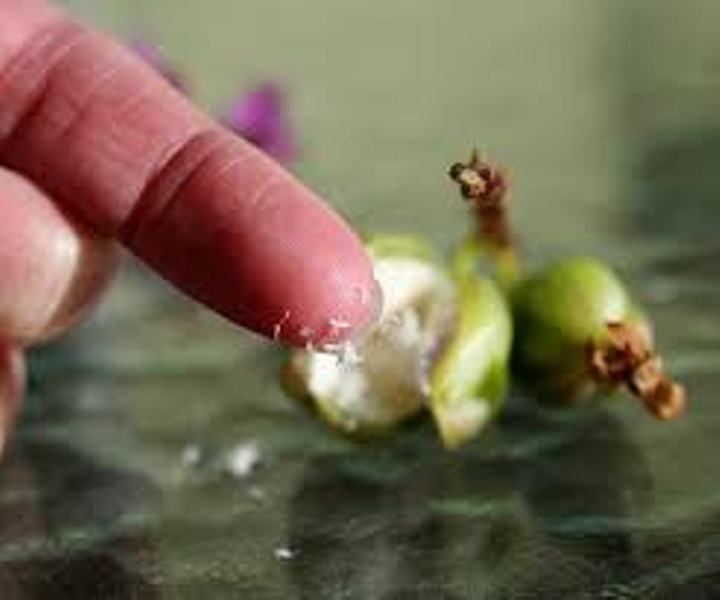
Another well-known and fairly simple way to propagate Phalaenopsis is to use cytokinin paste. The best time to use it is the beginning of spring or the last month of winter. This is due to the fact that it is at this time that the concentration of energy in the flower is maximum.
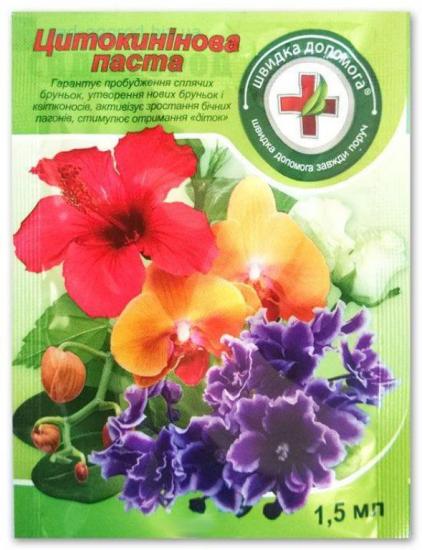
To stimulate the process of growth and formation of the kidney with this substance it is recommended:
- Using a previously cleaned knife, carefully scratch the outer part of the flower stem;
- Apply the paste to a fresh scratch. To do this, you can use a toothpick or a pointed match;
- If it is necessary to stimulate a nascent bud, it is necessary to cut off the scales and apply a paste to the cut site;
- The awakening of the kidney occurs on days 10-20.
When using the drug, it is worth remembering that an insufficient amount of it can provoke the development of not a bud, but a flower. In addition, it is recommended to store the drug in the refrigerator.
After the size of the leaves and roots of the shoot reaches normal, it must be planted in a separate container. Do not place in too brightly lit areas.
Is it possible to propagate orchids by seeds?
Using seeds to plant orchids at home is one of the most labor-intensive methods.

The main difficulty of the method is that:
- The slightest temperature fluctuation, exposure to pathogens and other deviations can lead to the death of the embryo;
- The absence of endosperm, which would nourish the embryo and protect the seed from the negative effects of the environment, makes the seeds vulnerable;
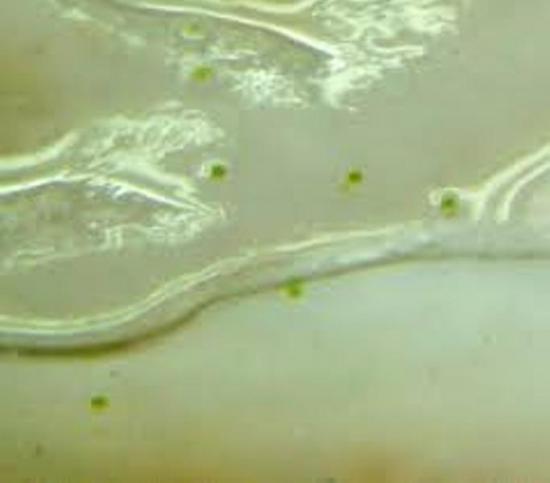
- Seeds the plants are very small. They are very difficult to see with the naked eye.
- To grow Phalaenopsis at home, you can either pollinate the plant yourself or purchase ready-made seeds. Since the first requires special skill, there is no need to take risks.
Since in the natural environment the development of the embryo occurs through the influence of soil fungi, after receiving the seeds it is necessary to prepare a nutrient substrate:
- Take 10-20 grams of pre-purchased agar-agar, two teaspoons each of glucose and fructose;
- Mix agar-agar with 200 ml of distilled water and leave for a while;
- Add the resulting mass to hot water, then add glucose, fructose and a small amount of orthophosphate acid with calcium carbonate;
- Stir the resulting mixture until a homogeneous mass is obtained.
To grow seeds, it is recommended to prepare glass test tubes with stoppers in advance. If you don’t have these on hand, you can use small jars with lids that can be tightly sealed.
One of the most important conditions for preparing the medium for sowing is its sterilization. So, to begin with, it is recommended to sterilize the containers themselves, and then pour the nutrient substrate (30-50 ml) into them.
After this, place the jars in a water bath and set aside for six days. This will help ensure that disinfection was successful.
If mold has formed in the containers, planting seeds is prohibited.
For planting seeds it is recommended:
- Cover the seeds with a one percent bleach solution. Shake for 3-5 minutes, let the mixture stand for the remaining 15 minutes;
- After mixing, place the flasks with seeds in a saucepan of hot water for a few minutes. It is recommended to secure the flasks on a wire rack;
- After disinfection, carefully move the seeds into containers with nutrient medium. Seal the jars tightly and place in greenhouse. The first shoots will appear in six months;
- After germination, it is necessary to prepare a mixture of 50 ml of heated water and a few drops of a one percent solution of Fundazol. Place the sprouted seeds in the resulting mixture for 15-20 minutes;
- It is recommended to plant the sprouted seeds using a narrow brush alternately in a container with nutritious soil (a mixture of moss and bark). You can add a small amount of crushed coal tablets and fern roots to the substrate.
After just six months, seedlings can be transplanted into an “adult” soil" A significant disadvantage of this method, in addition to being labor intensive, is the fact that such plants will only be able to bloom for 4-7 years.
We create favorable conditions for the reproduction of Phalaenopsis
The most favorable conditions for the propagation of Phalaenopsis are:
- Air humidity is 50 – 80%. However, spraying is not recommended, as it can cause flower disease. A small amount of gravel poured under a container with a flower can ensure normal humidity levels;
- The optimal temperature is from 28 to 300C. It's worth remembering that orchids tolerate low temperatures very poorly;
- Lighting - the best option is diffused light;
- Watering - to stimulate the development of children, it is recommended to reduce watering. So in the summer, the plant should be flooded every 3-4 days, and to enhance bud development, it is recommended to reduce the frequency;
- The soil must have good air permeability. You can use boiled bark pine trees, mixed with charcoal;
- Fertilizers - it is recommended to pay special attention to nitrogen fertilizing during the growing season.
If you follow all the rules and recreate the most favorable conditions for plants, the issue of reproduction will not be a problem.
The difficulty of propagating Phalaenopsis at home directly depends on the chosen method.So, when planting an orchid with seeds, you will have to spend a lot of time and effort to achieve the result.
At the same time, even a novice gardener can plant with children or peduncles.
Let's watch an interesting video on how to properly divide a phalaenopsis bush:


Comments
Until now I have not had the need to propagate phalaenopsis. And then a baby grew up, not on a peduncle, but at the very roots. Now there is one leaf and a second one is growing, but there are no roots. Apparently you will have to wait for the roots to appear and plant them.