DIY drip irrigation device: description and advantages of the system
For good growth, vegetable crops require not only heat, but also water. In a large greenhouse or greenhouse, watering the plants yourself is troublesome and wastes a lot of time. You can create an automatic drip watering. This is a rational way to deliver moisture to plants.
Content:
- Drip irrigation: what is it?
- Benefits of drip irrigation
- Materials and tools for work
- Step-by-step instructions for the device: main steps
- Irrigation using plastic bottles
Drip irrigation: what is it?
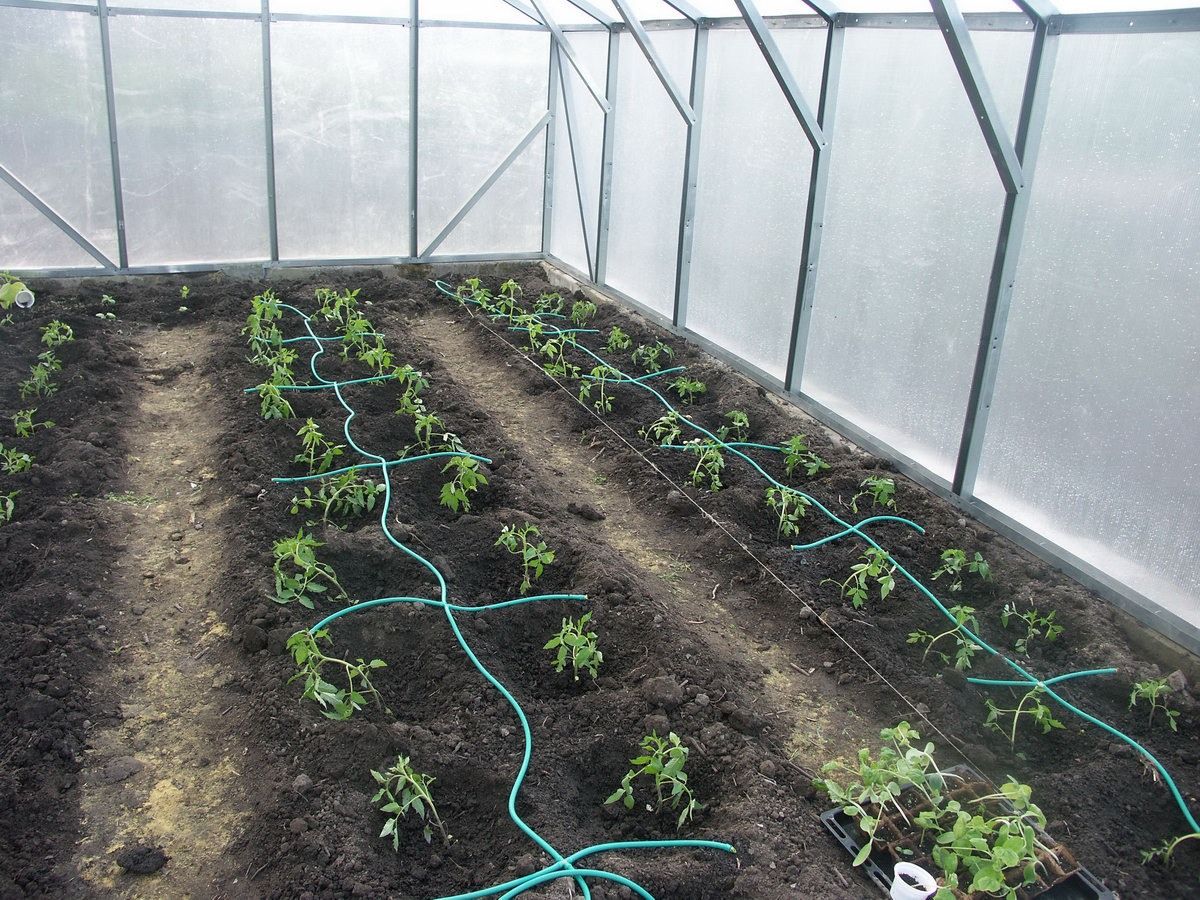
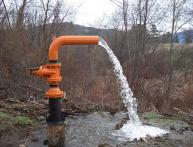
Drip irrigation can be used for a variety of plants that grow outdoors in a greenhouse. Water can come from a well using a pump, from a water pipe or a barrel. Water supply can be carried out under the influence of gravity or by force. In the first case, the liquid comes from the tank according to the law of gravity.
Then the device should be located on a slope. In the second case, water is supplied from a pump connected to a well.
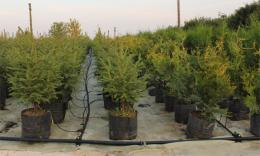
To create the required pressure in the gravity system, the tank must be at a height of at least 2 meters. Water flows through pipes and their branches. From them, a drip tape runs along the rows of plants. As a result, water is distributed over the required area. Water supply can be adjusted at a strictly allotted time, even when there are no owners on the site.
Benefits of drip irrigation
System drip Watering not only solves the problem of supplying plants with moisture, but also saves time for the owner of the site. The main advantages of this type of plant watering:
- No need to heat water
- Irrigation uniformity
- Possibility of saving water
- Reducing weeds
- Water supply regulation
- Possibility of using several watering modes
- You can combine several types of activities
- Possibility of using salt water
With this method of watering, the roots of the plant will never lack moisture. The system controls the strength and volume of water supply. In addition, a hard crust does not form on the surface and the fertile layer does not erode, which is often observed with manual watering. You don't have to worry about moisture getting on the leaves.
Water goes directly to the root. Along with watering, vegetable crops are fertilized. In this case, you can precisely adjust the dosage of mineral fertilizers. In addition, drip irrigation ensures air-water balance. This means that air is retained in the soil, which cannot be said about the surface method of watering.
This method can be used on any soil, even highly compacted, where there is a low rate of water penetration. Windy weather does not interfere with the quality distribution of water to the roots of plants. A ready-made drip irrigation system is not cheap, but you can make it yourself if you have the technical skills.
Materials and tools for work
Before you begin installing the system, you need to design it in relation to your site. If country cottage area small, then the distance between the droppers on the drip tape should be 25-35 cm.It is necessary to correctly calculate the length of the tape and the capacity of the tank. Only in this case can the optimal watering regime be achieved.

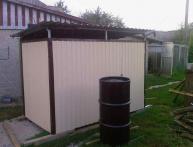
To calculate the volume of the tank, you should take the area of the territory. Per square meter you will need about 30 liters of water, which means if the area is 25 m2, then the volume of the tank should be 700 liters. To install a drip irrigation system, you need to prepare the following materials:
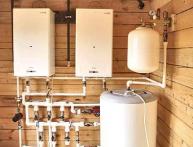
- Tank or pump
- Pressure reducer
- Valve and ball valve
- Filter for cleaning
- Adapter
- Plastic pipes with a cross section of 16-20 mm
- Cranes
- Drip tape and adapter for it
- Tees
- Stubs
- Mini cranes
It is better to use rigid plastic pipes to supply water, and it is better to use flexible hoses to distribute water to the beds. From tools for installing a drip system glaze you will need:
- Pliers
- Roulette
- Adjustable wrenches
- Shovel
- Scissors
- Hammer
- Hole puncher
- Pipe cutters
- Puncher
After purchasing all the necessary materials, you can begin manufacturing the system.
Step-by-step instructions for the device: main steps
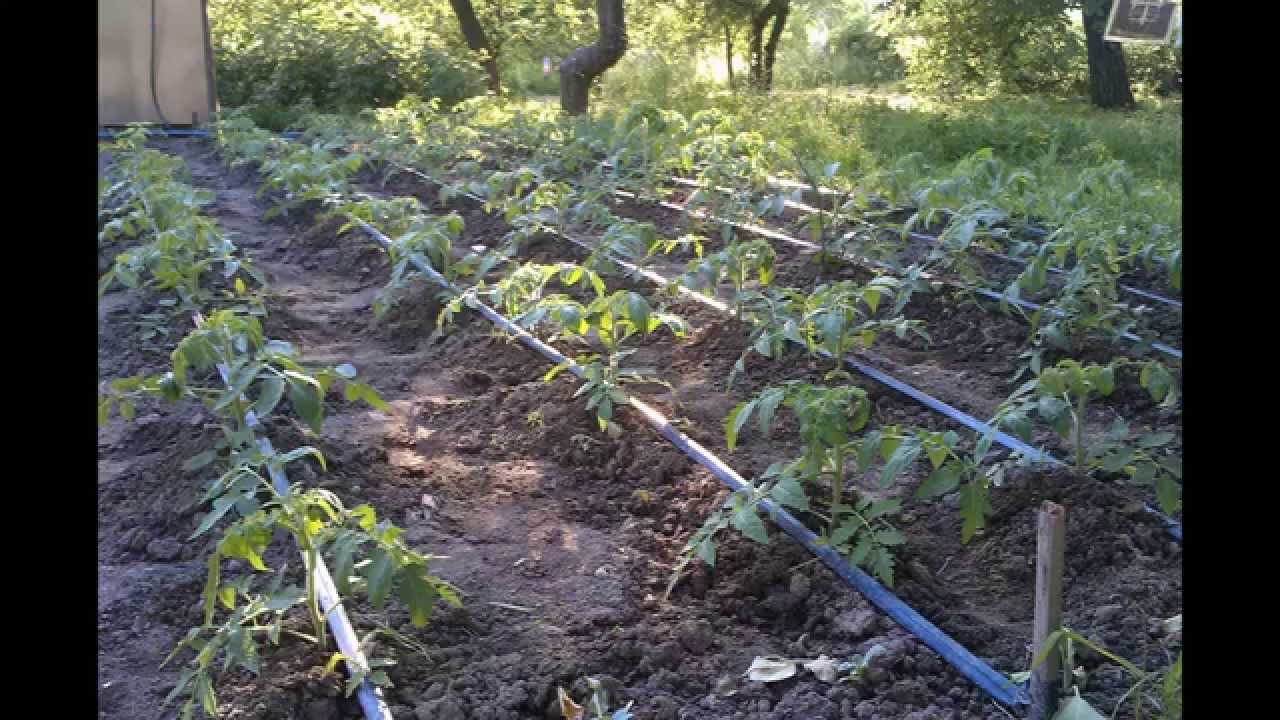
On the diagram you need to mark the place where the water tank will be located, as well as the main hose. It is necessary to measure the length of the beds and the distance between vegetable crops. This is necessary in order to correctly calculate the length of the hose and the gap between the droppers. After all the calculations have been made, you can proceed directly to installation.
The main stages of creating a drip system
Place the container at a height of 1.5-2 meters. Drill holes in the hose at a certain distance in accordance with the drawing. First you need to apply marks for attaching drip tapes. Next, attach drip tapes to the pipe using starter fittings.The diameter of the holes should be of such a size that the seals are inserted with force.
Then the start connector is inserted into the seal. It comes with a faucet. Connect the main hose to the barrel. To purify the water, you need to install a filter between the pipe and the tank. Drip tapes are laid along the beds. Close one end with a plug and connect the other to the main pipe.

Cut the supply pipe just above the bottom of the barrel. This is done to prevent debris from entering the system and settling to the bottom. The hose may move to the side while water is being supplied. To prevent this, watering hoses are secured with staples. At the final stage, fill the container with water and turn on the system. If you plan to irrigate several beds, then you need to connect the tees. In this way, several supply pipes are connected into a common system.
Irrigation using plastic bottles
Drip irrigation can be made from plastic bottles. This method is convenient to use if the owners periodically come to their summer cottage. Uniform watering is carried out within 2-4 days.
Installation of drip irrigation using bottles:
- Cut off the bottom of the container and make several holes on both sides.
- Next, bury the bottle between two bushes of plants. In this case, the bottom should be located on top.
- Pour water into the container. Moisture will seep through the holes.
- When the ground begins to get wet, the holes become clogged. After the soil dries, the holes open and the liquid flows back to the plants.
Plants will not accept excess moisture. When the water in the container runs out, add it. This option is usually used for irrigating small areas.There is another way of watering - by hanging a container of water on a wire.
In this case, holes are made at the bottom of the bottle or in a twisted cap. This method can also be used for feeding vegetable crops using liquid fertilizers. A drip irrigation system can be built with your own hands, significantly save money and make your work easier.
Video on how to install a drip irrigation system in a small area: