How to propagate an orchid at home, methods and rules, useful tips

An orchid is a very beautiful, but also demanding plant. To grow and propagate it, it is important to know how an orchid is propagated at home and what nuances you need to pay attention to.
Content:
- How do orchids reproduce in nature?
- How to propagate an orchid at home with a peduncle in a bottle
- Is it possible to grow an orchid from a piece of root?
- Orchid propagation by peduncle cuttings
- How to do air layering
- Reproduction by children
- Propagation of orchids by seeds
- Propagation of orchids by division
- What are the advantages of the cloning method?
How do orchids reproduce in nature?
The difficulty of germinating this flower in the natural environment is due to the fact that most seeds do not receive endosperm. When such seeds enter the soil, they receive carbohydrates for growth and development from the outside, in which soil fungi help them.

Moreover, in nature among orchids Reproduction by lateral shoots and aerial layering formed on peduncles and stems is common.
The sprouts obtained in this way were called “babies”. As a result of environmental pollution, it is becoming increasingly difficult for flowers to reproduce.
What conditions does the plant need to create during the propagation period?
In order for reproduction to be successful, it is important not to forget about some conventions.
Points to pay attention to include:
- Air humidity - a threshold of 50% is considered optimal. Excessive amounts of moisture in the air during germination will not be particularly beneficial;
- The age of the mother plant should not be less than two years, and the flower should not be sick or weak;
- Periods of dormancy and flowering - during this time it is better not to touch the plant. It is recommended to plant seedlings either at the beginning of the active growth phase, after flowering, or in the spring;
- Temperature regime - since these are heat-loving plants, the ideal temperature for propagation of orchids is 28 C.
It is important to remember how capricious this plant is. Just one mistake can affect the result, so you should approach seating arrangements with all responsibility.
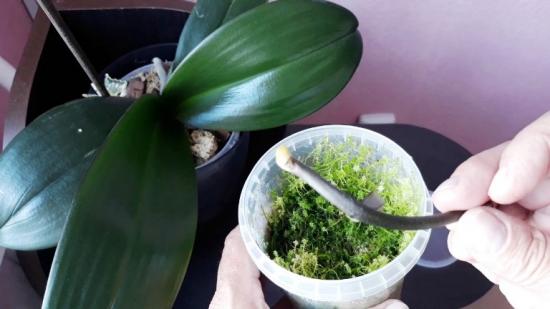
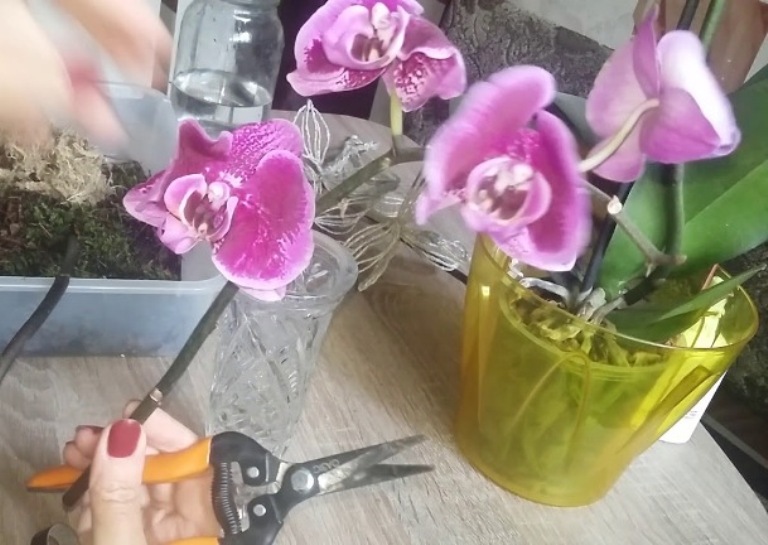
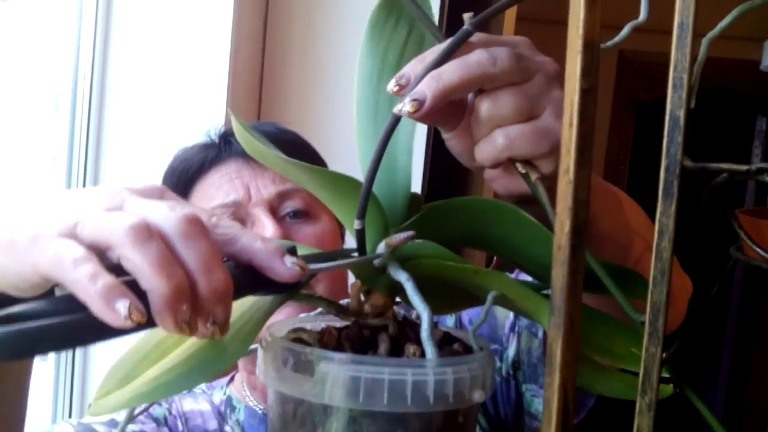
How to propagate an orchid at home with a peduncle in a bottle
This germination method is simple and convenient. To carry it out, you need to prepare in advance a bottle of water enriched with growth stimulants and nutrients. After this, you need to carefully cut off the peduncle near the root or trunk.
Spray the cut peduncle with Doctor Folly to awaken the buds. After this, place it in a bottle, which is recommended to be placed on a sunny window. It is important that the temperature there does not fall below 20 C. From time to time you need to add water to the bottle.
You need to keep the peduncle in the bottle until the baby begins to develop. When three to four leaves and at least five roots are formed, it can be planted.
Let's watch a video about orchid propagation:
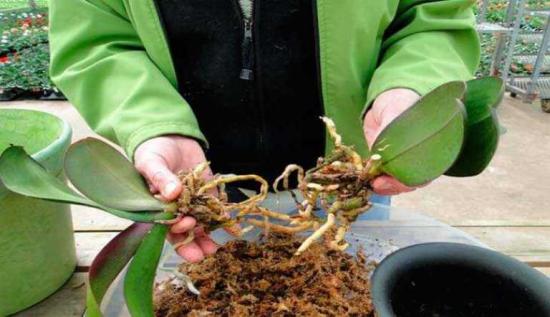
Is it possible to grow an orchid from a piece of root?
Before you start dividing the rhizome, it is important to consider that it is quite fragile, so you need to handle it with extreme caution.Once removed from the container, the root must be carefully cleaned of the soil, and then proceed to division.
It is necessary to divide with a sharp pruner or knife; it is important that the device is disinfected. Divide so that several pseudobulbs remain on each root. Immediately after dividing, the cut area must be sprinkled with charcoal. This will help prevent the development of diseases.
The resulting roots can be planted as follows:
- Pre-prepared pots must be filled with a special soil mixture for growing orchids. It is important to take this particular substrate, since ordinary soil does not contain the minerals and trace elements necessary for the plant;
- A drainage layer must be laid at the bottom of the container;
- Carefully place the root in the container and sprinkle with soil and spray. Watering is not recommended, this can lead to compaction of the soil; use a sprayer.
After this, it is important not to forget to periodically repeat the spraying. With proper care, the roots will sprout very soon.
Orchid propagation by peduncle cuttings
Another method of propagating these flowers, which will require maximum attention from the gardener.
It is necessary to do this in the following order:
- Separate the peduncle with a previously disinfected knife; it is recommended to make the cut as low as possible;
- Carefully divide the resulting peduncle into cuttings. At the same time, at least one bud must remain on each, which should be located closer to the lower cut;
- All cuts must be treated with charcoal. This applies to both cuttings and the mother plant;
- Pour pre-prepared containers with soil (and a mandatory drainage layer that will prevent moisture stagnation) with a biostimulator solution to activate bud germination;
- Place the cuttings on top of the substrate and press down slightly. In this case, they must be placed horizontally; there is no need to fill them up;
- The next step is to create ideal conditions. Cover the container with plastic to retain moisture and place it in a sunny window. In this case, the temperature should not fall below 25 C;
- Open the film from time to time for ventilation and moisten the soil as needed. At the same time, it is important to prevent not only drying out, but also excess moisture. Sudden temperature changes will not be beneficial for seedlings;
- After several leaves form on the young plant, they must be carefully separated from the remnants of the cutting and transplanted to a new location. In this case, there is no need to wait for sufficiently sprouted roots to form so as not to damage them later.
Despite the apparent complexity, even a novice gardener can perform this procedure. You just need to devote enough time and attention to the process, the result will not disappoint.
We invite you to watch an interesting video about how to propagate an orchid at home:
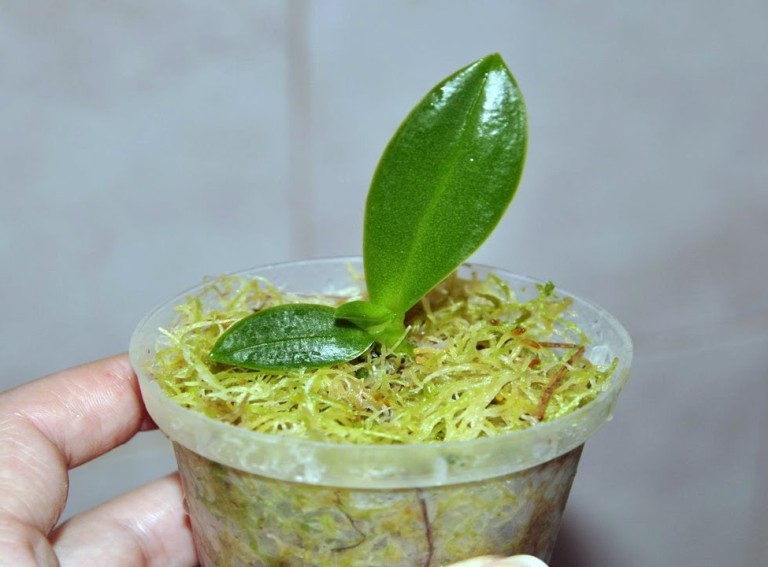
How to do air layering
Another way to plant flowers is by layering. However, it is important to remember that not all species can reproduce using air layering.
This method is suitable only for those species that have pseudobulbs, represented by a thickening on the stem.
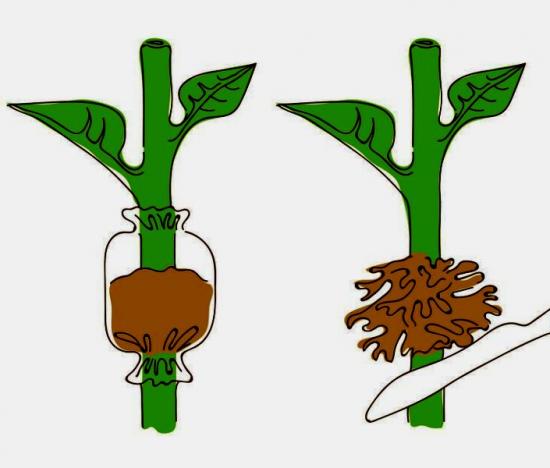
In order to awaken a dormant bud located inside such a pseudobulb, you need to carefully bend the stem and remove it.It is not necessary to save the sheet on it. Carefully place the resulting pseudobulb on a previously prepared layer of peat moss in a pot.
For germination, it is necessary to provide greenhouse conditions with a stable temperature, constantly humid air and lighting.
After awakening the dormant bud and its germination, the shoot can be planted in a separate container.
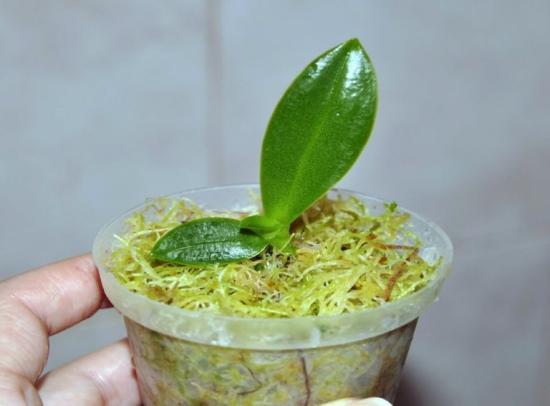
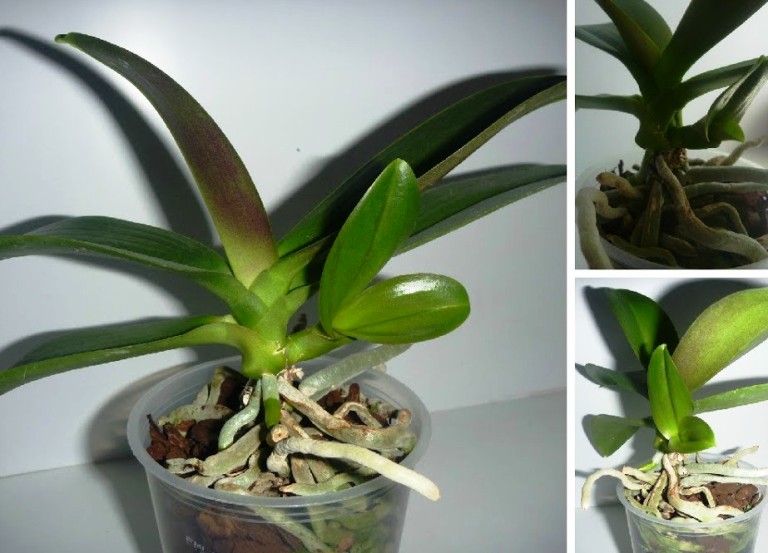
Reproduction by children
No less common is for children to plant flowers. To do this, it is recommended to carefully separate the sprout from the main stem. In this case, the roots of the child should reach at least three to six centimeters. The cut areas must be lubricated with charcoal to prevent the possibility of disease.

Separated children must be planted in a pre-prepared container with substrate. After planting, water the seedling. After the baby has taken root sufficiently, caring for a young orchid is no different from caring for an adult flower.
You can use any shoot for planting, the roots of which have reached a sufficient length, but if the roots are still small, leave the baby to grow.
It is recommended to plant it in early spring; this will help it settle well in its new location.
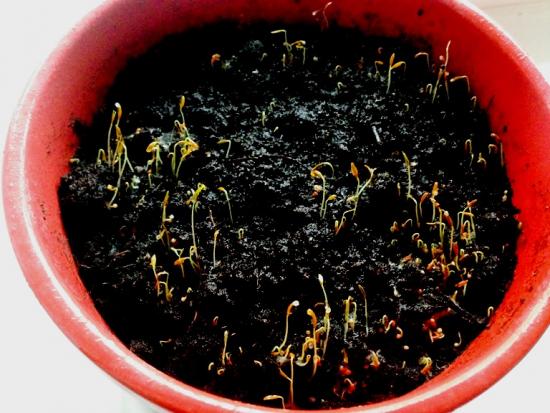
Propagation of orchids by seeds
With all the advantages of vegetative propagation, only a few young specimens can be obtained at a time when planting parts of flowers. In this regard propagation by seeds significantly benefits, because from one sowing you can get more than a dozen new flowers.
However, it is important to consider that germinating seeds is an equally complex process for both beginners and experienced gardeners. The difficulty is to prepare and maintain a nutrient medium for the seeds.
In this case, the substrate, as well as all working instruments, must be sterile.
Since in order to create all the necessary conditions it is necessary to maintain stable conditions of humidity, light and temperature, seed propagation is often carried out in laboratory conditions.
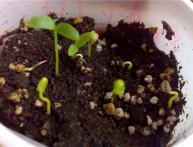
In order to grow an adult plant from seeds at home you will need:
- Prepare the substrate by displacing leaf soil and chopped moss. Before planting seeds, the soil must be thoroughly moistened, while avoiding soil clumping and water stagnation;
- Sow seeds in rows, sprinkled with a small amount of substrate;
- After planting, systematically water with settled water;
- Provide air humidity of at least 50% and temperature 25 C;
- After the seeds germinate, releasing the first leaf, they need to be transplanted into a new substrate, represented by a mixture of moss and peat;
- After germination of the third leaf, it is necessary to make another transplant. This time the soil should contain not only peat and moss, but also crushed fern roots. It is recommended to replant the plant to a permanent place of growth after the formation of four leaves.
Despite the complexity of propagating orchids using this method, it cannot be called impossible. It is enough to adhere to the rules of caring for seedlings, periodically checking the germination result with photos of the corresponding growth stages, which can be found on the Internet.
Propagation of orchids by division
Another type of vegetative propagation of orchids is division. Recommended for sympodial species that have several types of horizontal shoots that are connected by one rhizome.
The essence of the method is the mechanical division of the orchid bush with the subsequent formation of each part of the flower into its own pseudobulb.
The process consists of several stages:
- First of all, you need to carefully remove the flower from the pot. It is recommended to first soak the earthen ball by soaking the soil and leaving it for half an hour;
- After extraction, carefully clean the rhizome from the substrate and divide it into two parts using a sharp knife or pruning shears;
- Be sure to treat the cut areas with crushed charcoal;
- Transfer the resulting parts to new containers with a new substrate.
After planting, water the seedlings for better rooting in the new location. Further care is no different from standard care for an adult plant.
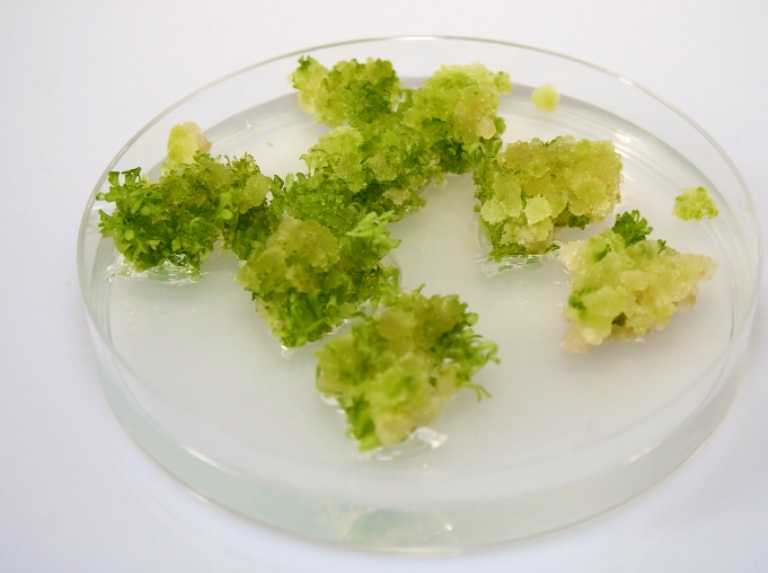
What are the advantages of the cloning method?
At the moment, plant cloning is not particularly common; only professional gardeners and breeders do it. The essence of the process is to extract cells from the kidney under a microscope that are capable of dividing (meristematic cells).

After extraction, the cells are transferred to a special nutrient medium where the cells divide. After division has passed, the cells are transferred to a new environment adapted for the development of cells into a plant. All stages of cloning must take place under sterile conditions.
Although cloning is a complex scientific process, it has great advantages over other methods of reproduction. In this way, you can quickly obtain a large number of genetically identical flowers.
Growing orchids at home is a labor-intensive process that requires a lot of time and attention. However, it is worth it, because, despite the capriciousness, the flower is very beautiful.


Comments
I love orchids, I have a lot of them, but I never manage to propagate them. Children do not appear on the cuttings, and dividing by the root does not work either. It's rotting. I will use all the author’s recommendations and try again, since I did a lot of things wrong.
We have a phalaenopsis orchid, unfortunately, how many times have we tried to propagate this flower, but nothing has worked for us. It seems that everything is simple in the description and in various videos, but in practice it doesn’t work out.